Drawing ray diagrams for a converging lens
There are a couple of video lessons at the bottom of this page which might be easier to follow than the still images. But if you want some notes to copy, here they are!
To explain how to draw the diagrams, there are two key things to remember.
1 A converging lens refracts the light so that any ray of light parallel to the principal axis (the thick horizontal line) is turned to pass through the focal point.

2 Because the faces of a converging lens at the centre are parallel any ray of light passing though the centre point is straight.

So we use these facts like this:
To find the position of the final image we map three rays of light.
- One from the base of the object passes along the principal axis through the centre of the lens. This is not refracted. One from the top of the arrow also passes through the centre and the path is unaltered.
- One from the top of the arrow, parallel to the principal axis is refracted to pass through the focal point.
- The top of the image is where these two last lines cross.


A virtual magnified image
Converging lenses are often used as to magnify an object but we cannot throw this image onto a screen. It works like this.
Tracing the rays of light parallel to the principal axis and then refracting though to pass the focal point and then another to pass through the centre of the lens. The rays are spreading out, they diverge. They do not meet to form an image.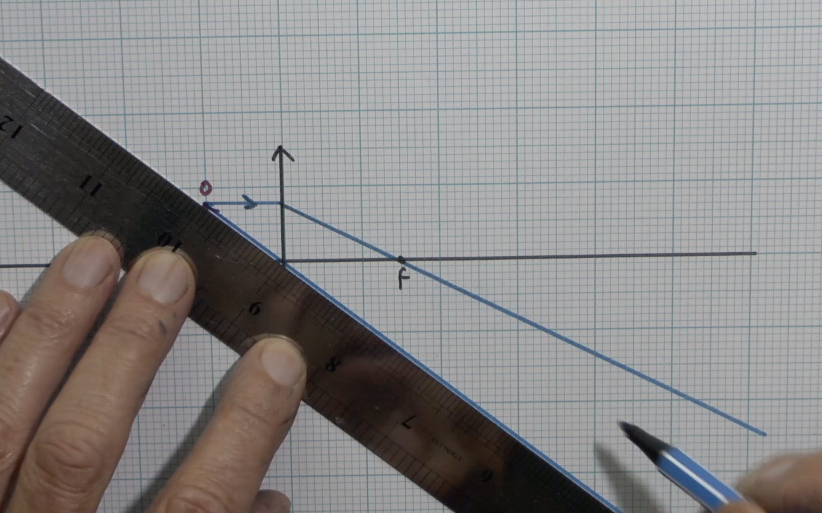
However if we place our eye to see the light coming through the lens the eye lens can focus the light and it looks as if the image is further away behind the lens.

The image is not really there, it cannot be projected on a screen. It is a virtual image. However it is very useful because it is magnified and upright.
A projector
The lens in a film, slide or video projector is a converging lens. In this diagram the lens produces a real image, which can be projected on a screen. You can see that the image is upside down (inverted) and magnified. To avoid having to stand on your head to see the picture the object to be projected is inserted into the projector upside down, so the image comes out the right way up.
